One Hytale build, start to finish
We built a stone well for Hytale in Create and kept a picture of every step: the description, the review sheet, the build and the Hytale pack.
Ever wondered what a build looks like before you spend credits on one? We made something ordinary, a village well for Hytale, on the live site and kept a picture of every step. The price, the screens and the result are exactly what that build showed.
Describe it
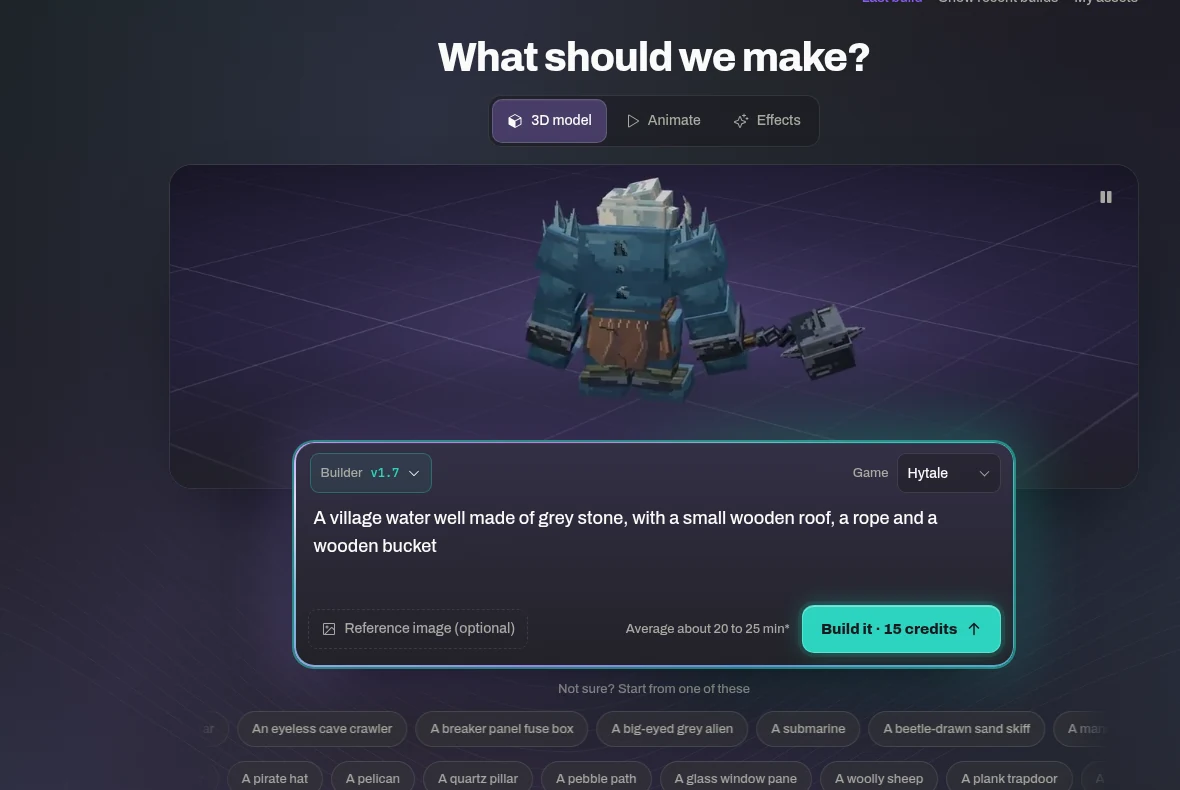
Open Create, set Game to Hytale and say what you want. We typed: "A village water well made of grey stone, with a small wooden roof, a rope and a wooden bucket." Name the thing first, then its parts and what they're made of.
The button under the box shows the price before you press anything. Ours said Build it · 15 credits.
Check the review sheet
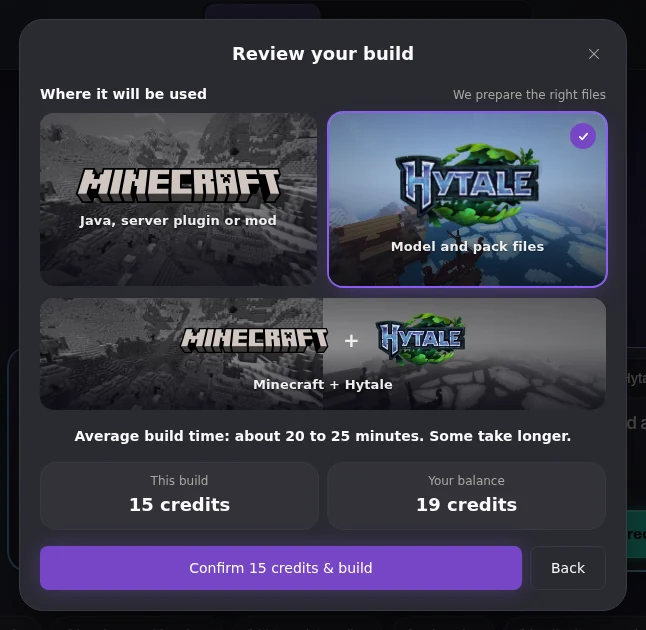
Press Build it and the Review your build sheet opens. It asks where you'll use the model. We'd already picked Hytale, so its card was ticked: that gets you the model and the pack files. It also shows the price and your balance.
You're not charged until you press Confirm, and if a build fails you get its credits back.
Watch it build
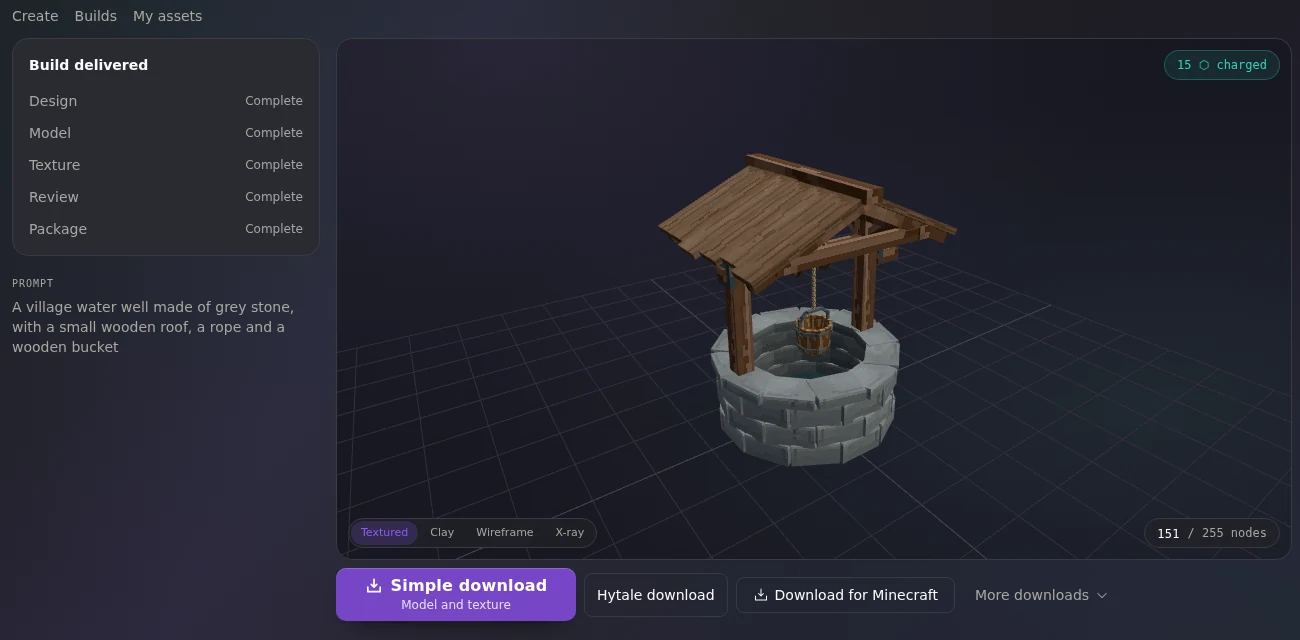
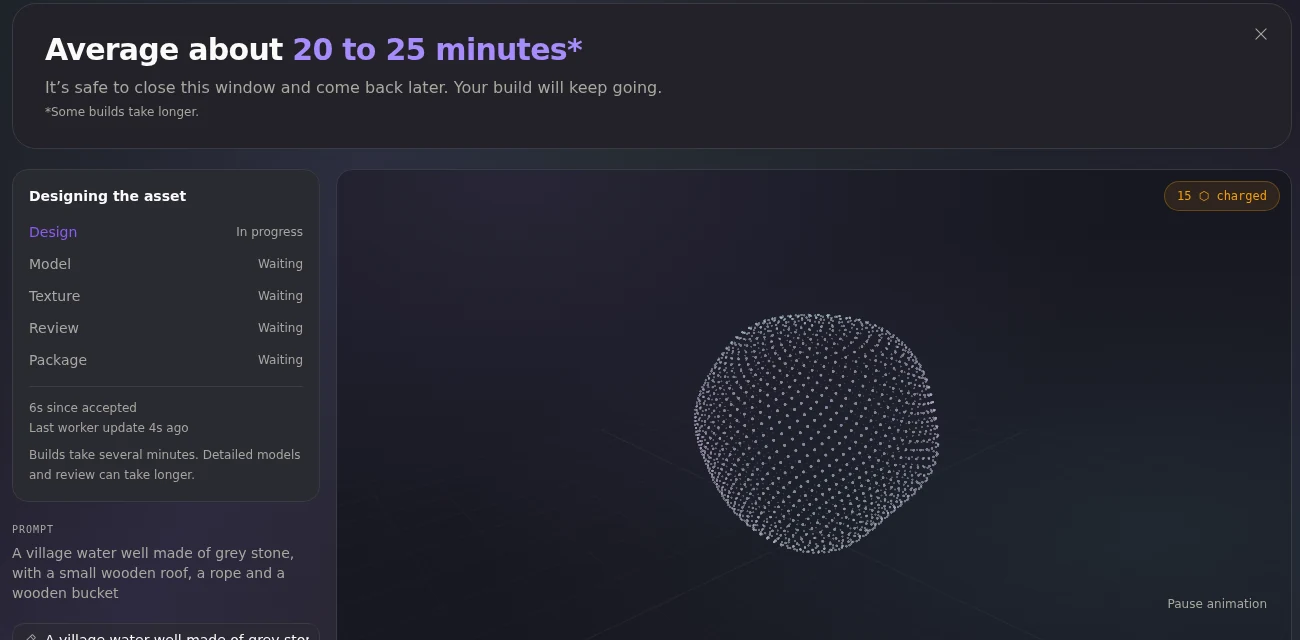
After Confirm, the build page opens straight away. On the left it lists the stages: Design, Model, Texture, Review and Package. The page says builds take about 15 minutes on average, and some take longer.
You don't have to watch. It's safe to close the tab: the build keeps going, and you'll find it again under Builds and in My assets.
What came back
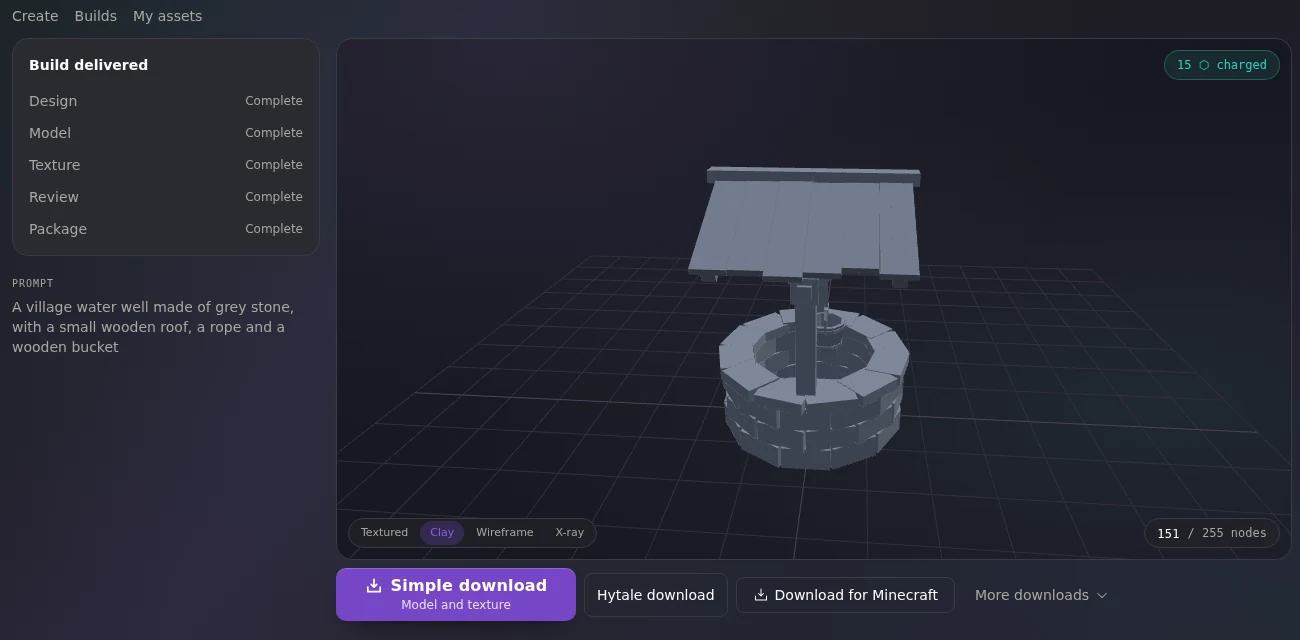
A stone well with a wooden roof, a rope and a bucket, made of 151 parts. That's the count bottom right, against the 255 a Hytale model can have. Switch between Textured, Clay, Wireframe and X-ray under the model to see how it's put together.
Get it into Hytale
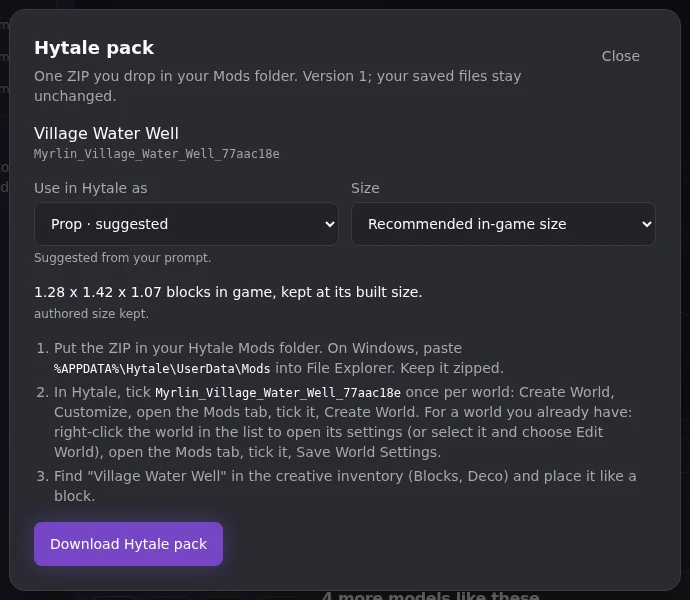
Hytale download opens the Hytale pack window. It named our model "Village Water Well", suggested using it as a Prop (from the description), and gave its size: 1.28 x 1.42 x 1.07 blocks in game.
Put the ZIP in your Hytale Mods folder and keep it zipped. Then tick the pack in your world's Mods tab, and find "Village Water Well" in the creative inventory under Blocks, Deco. The window spells out each step for your model, and Put your model in Hytale has the long version. Want to edit it first? Simple download gives you the .blockymodel and its PNG texture for Blockbench.